ZRanger28
Got boost?
I nor rangerforum.net take responsibilty to any harm you do to yourself your truck or anybody around you while performing this repair
WARNING!!!! NEVER WORK ON ANY VEHICLE IN THE AIR WITHOUT JACK STANDS IN PLACE!!!!!
Here we go!
Supplies needed:
rear brake shoes
rear brake hardware kit
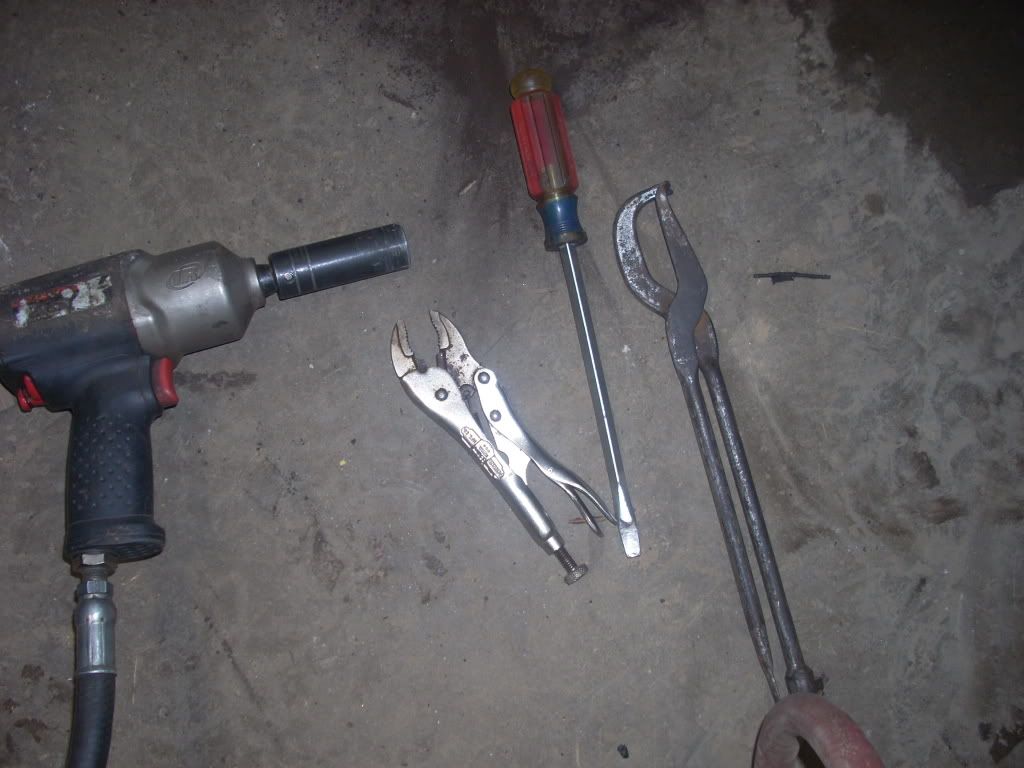
Tools need:
Vise Grips
Flat head screwdriver
19mm deep well impact socket
impact or breaker bar
Special tools: OPTIONAL
Brake spring tool
1: Jack up truck and place it on jack stands
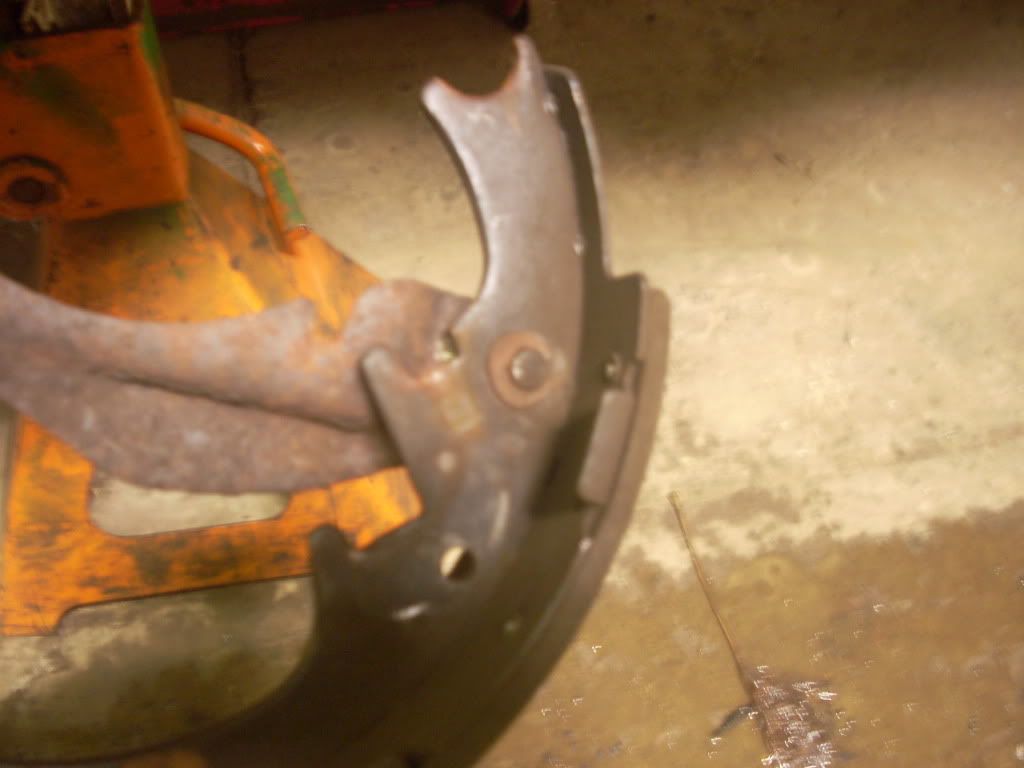
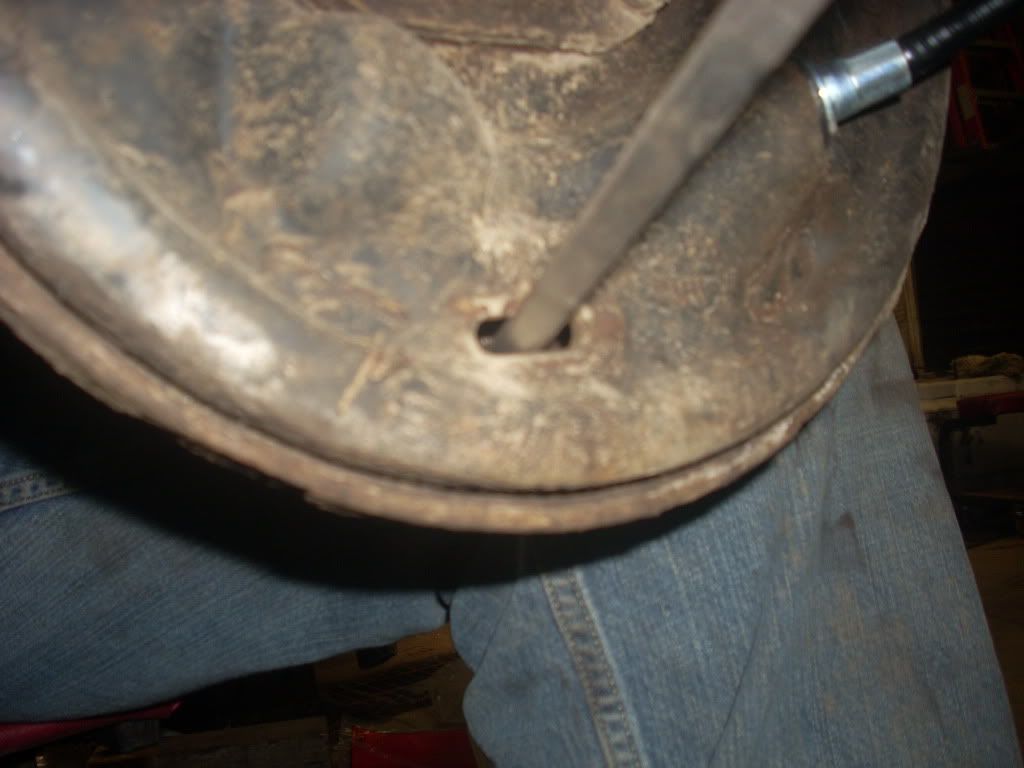
2: remove wheel
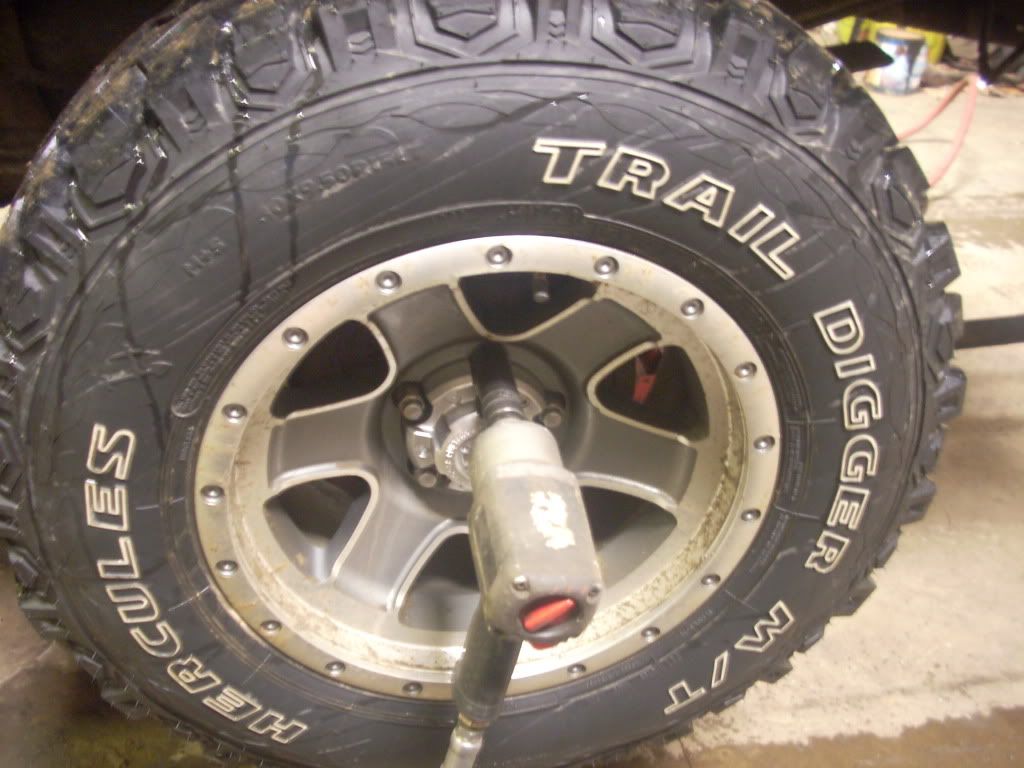
you now see this ( i have 10" brakes but 9" are the same )
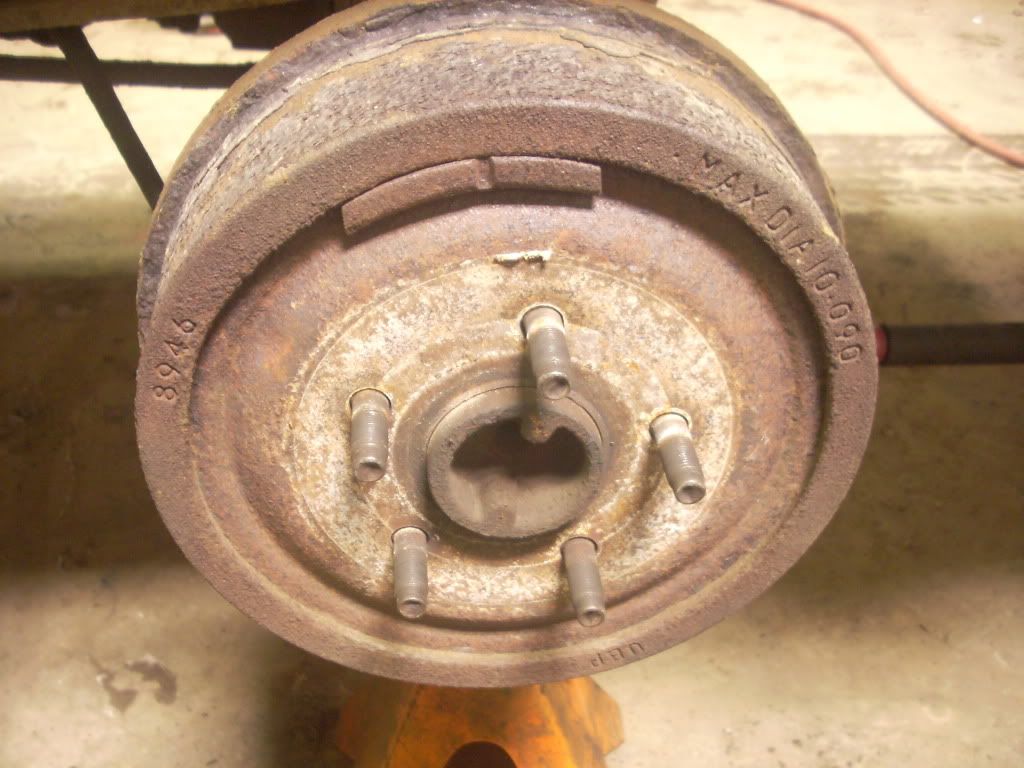
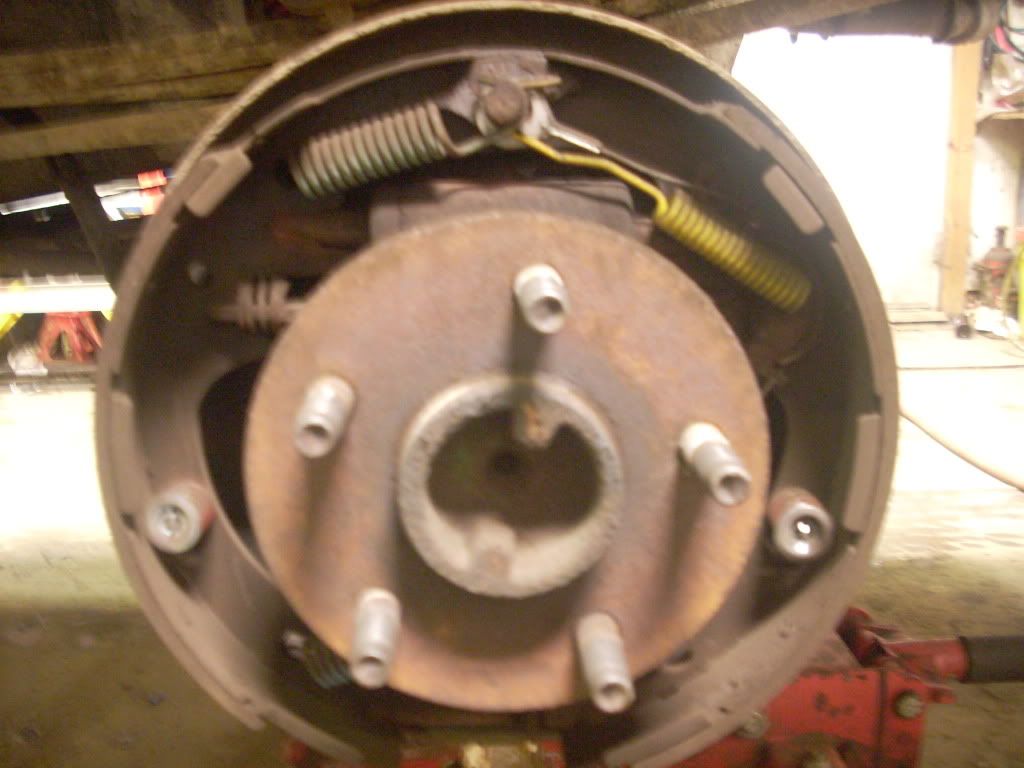
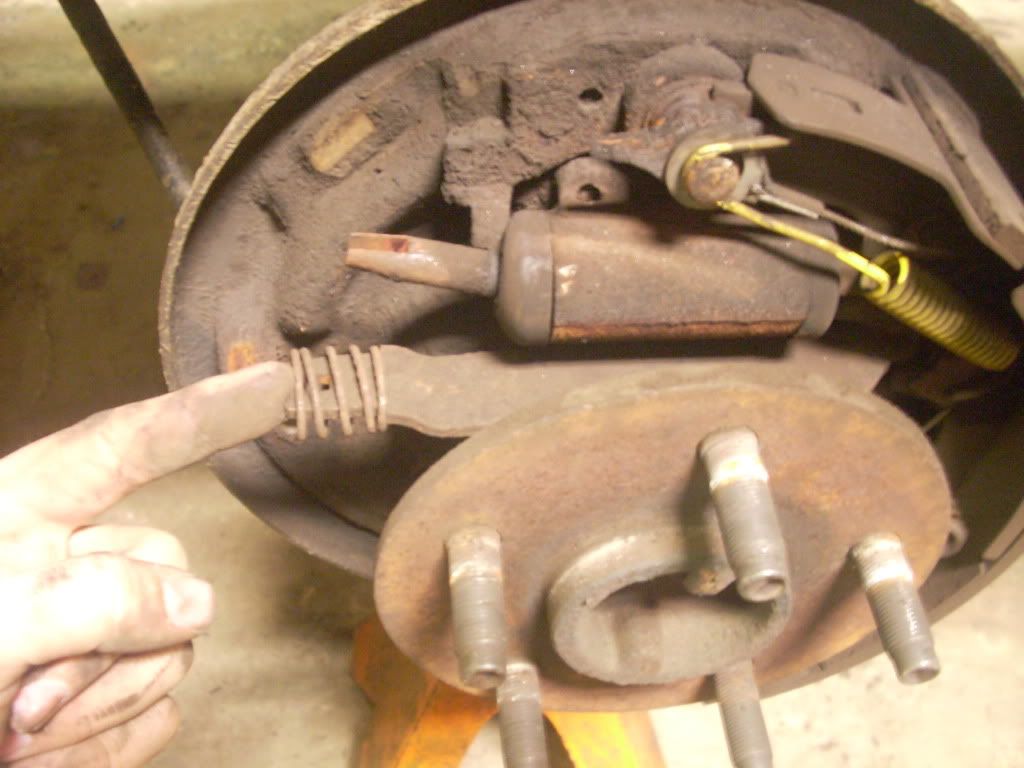
3: remove drum
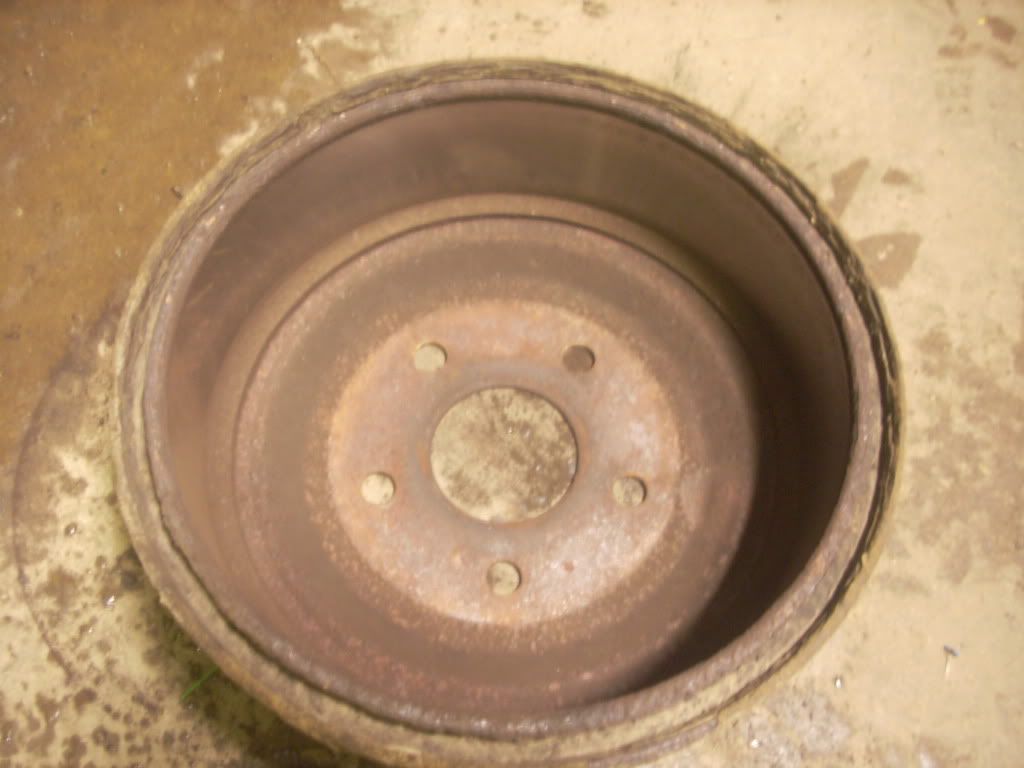
you now see this
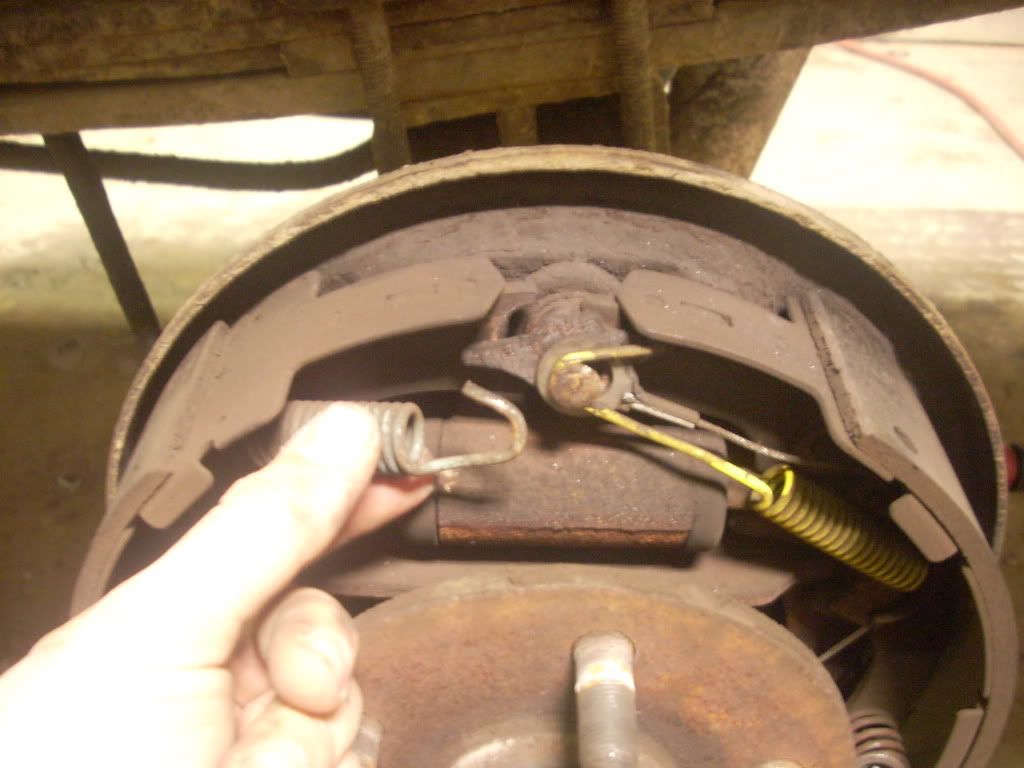
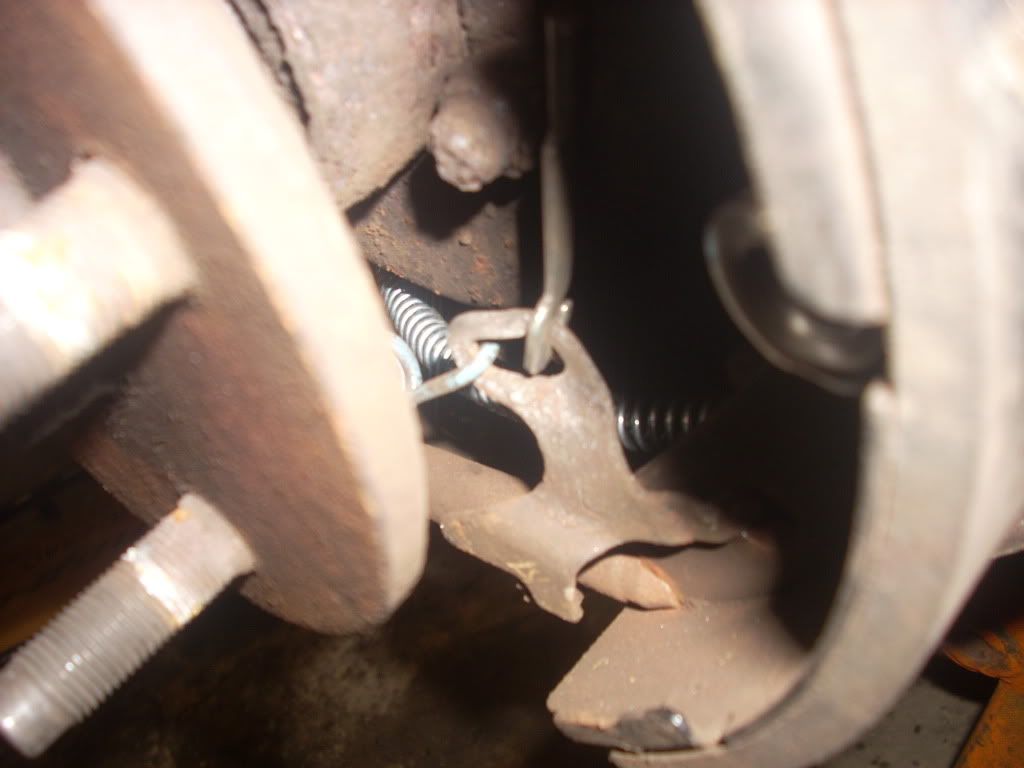
4: remove blue spring first ( or whatever color yours is just go by the pictures lol)
5: remove hold down spring ( this requires the vise grip, clamp down on the sliver piece and push in and rotate)
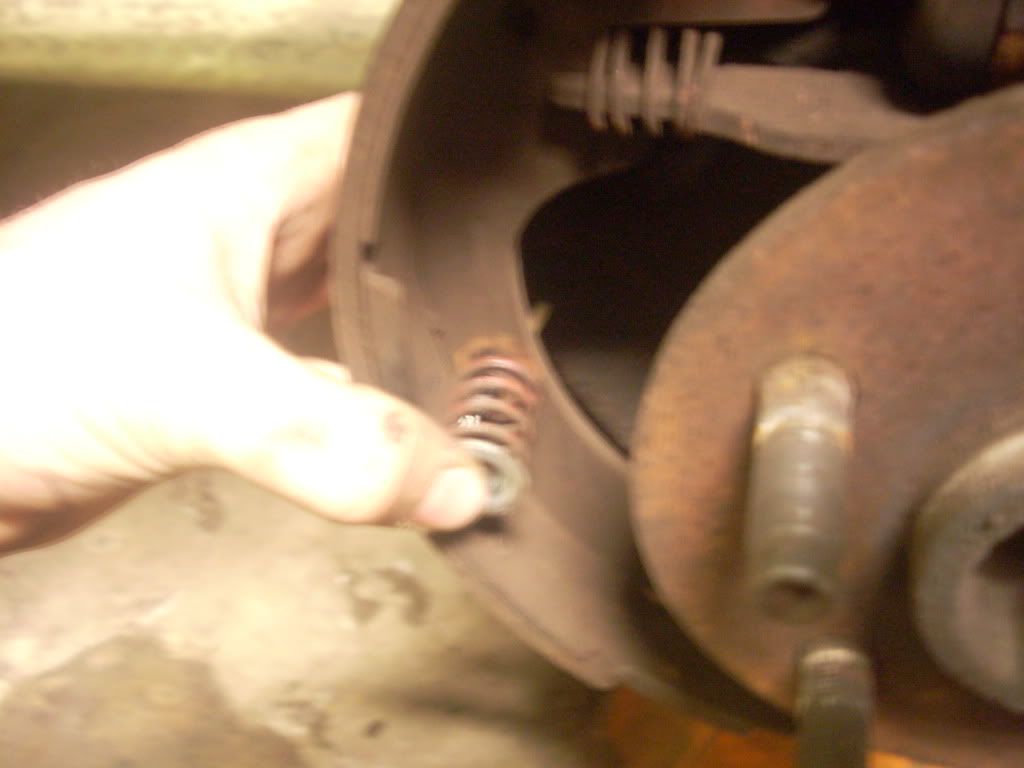
6: now pull the pad out and down and this bottom blue spring will undo its self 9/10
7: remove the parking brake lever ( dont lose the anti rattle spring) ( if yours is already gone, dont worry bout it, you dont need it but it helps reduce brake noise)
8: now remove yellow spring
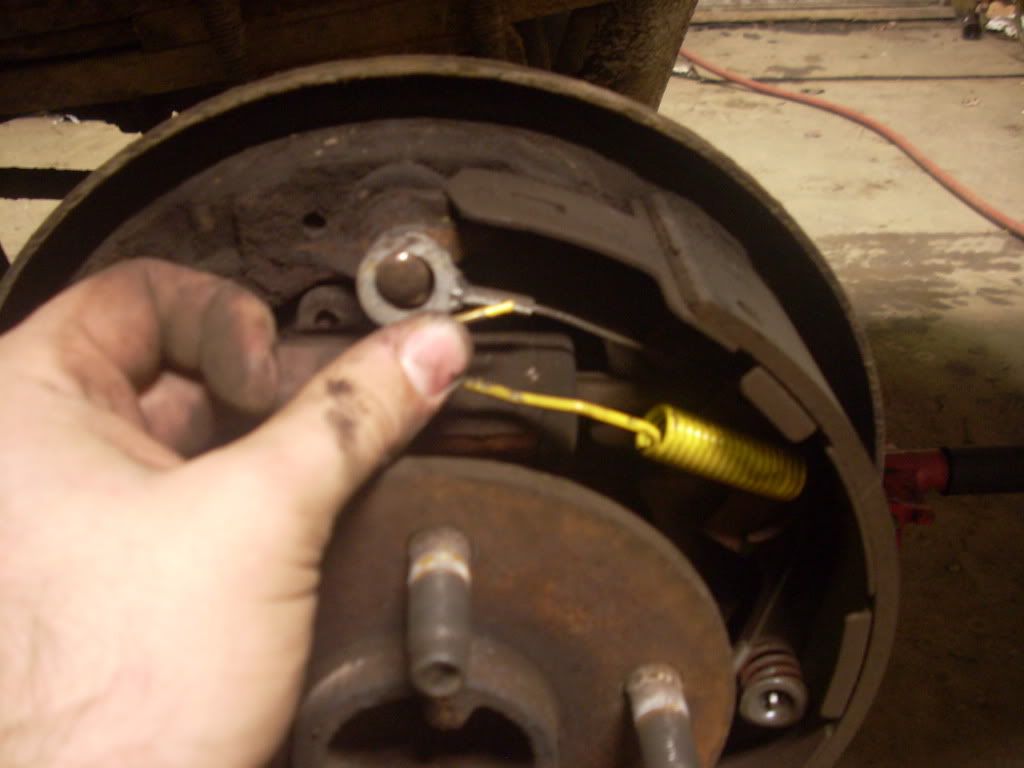
keep in mind how this is
the little silver metal chord will probably fall off also ill get to that later
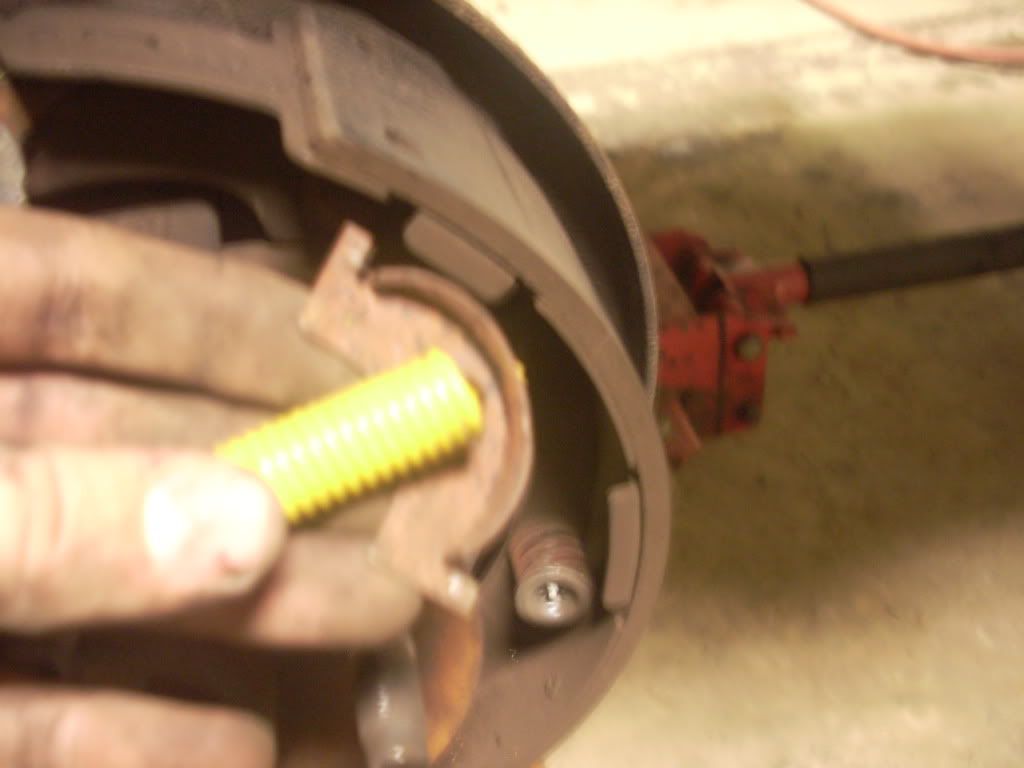
9: remove the hold down pin and spring
10: remove the little clip that holds parking brake to pad
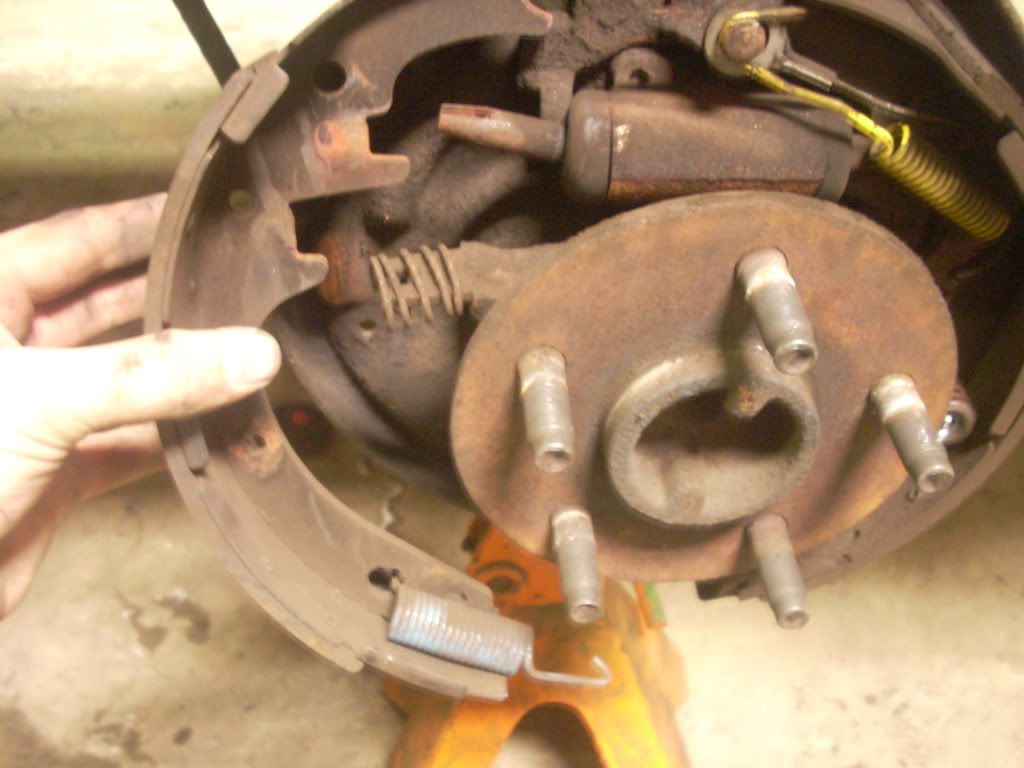
Now this is what you brakes look like ( use this as a reference )

11: now put parking brake lever back on new pad
12: hook bottom blue spring like this ( remember that silver chord here it is )
13: Now put the hold down spring and pin back on to hold the shoe in place ( i found putting the little cap like this in the vise grip make it alot easier to put on )
14:now make sure you route the silver chord like this and put it on first
15: now put on the yellow spring
16: now this is the hard part using the other pad get it all back like this ( this takes alot of playing and dont forget to get the star wheel adjuster in place!
17: now put the hold down pin and spring in
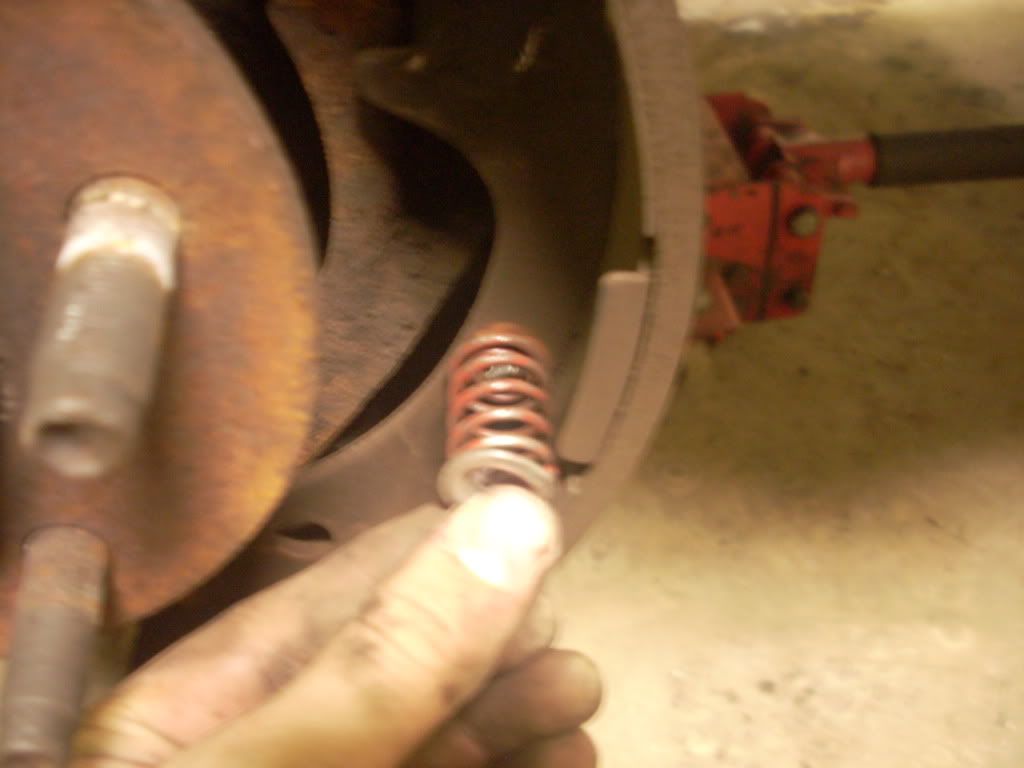
18: put the upper blue spring in
19: now using the screwdriver spin the adjuster till you get slight rubbing on the drum and you are golden
here is how u adjust them
enjoy your rear brakes!
use all the pictures to your advantage and make sure you get it right, and only do one side at a time so you have the other side as a reference
WARNING!!!! NEVER WORK ON ANY VEHICLE IN THE AIR WITHOUT JACK STANDS IN PLACE!!!!!
Here we go!
Supplies needed:
rear brake shoes
rear brake hardware kit
Tools need:
Vise Grips
Flat head screwdriver
19mm deep well impact socket
impact or breaker bar
Special tools: OPTIONAL
Brake spring tool
1: Jack up truck and place it on jack stands
2: remove wheel
you now see this ( i have 10" brakes but 9" are the same )
3: remove drum
you now see this
4: remove blue spring first ( or whatever color yours is just go by the pictures lol)
5: remove hold down spring ( this requires the vise grip, clamp down on the sliver piece and push in and rotate)
6: now pull the pad out and down and this bottom blue spring will undo its self 9/10
7: remove the parking brake lever ( dont lose the anti rattle spring) ( if yours is already gone, dont worry bout it, you dont need it but it helps reduce brake noise)
8: now remove yellow spring
keep in mind how this is
the little silver metal chord will probably fall off also ill get to that later
9: remove the hold down pin and spring
10: remove the little clip that holds parking brake to pad
Now this is what you brakes look like ( use this as a reference )
11: now put parking brake lever back on new pad
12: hook bottom blue spring like this ( remember that silver chord here it is )
13: Now put the hold down spring and pin back on to hold the shoe in place ( i found putting the little cap like this in the vise grip make it alot easier to put on )
14:now make sure you route the silver chord like this and put it on first
15: now put on the yellow spring
16: now this is the hard part using the other pad get it all back like this ( this takes alot of playing and dont forget to get the star wheel adjuster in place!
17: now put the hold down pin and spring in
18: put the upper blue spring in
19: now using the screwdriver spin the adjuster till you get slight rubbing on the drum and you are golden
here is how u adjust them
enjoy your rear brakes!
use all the pictures to your advantage and make sure you get it right, and only do one side at a time so you have the other side as a reference
Last edited by a moderator:
